Most seam blisters are preventable. Yet people keep treating friction like a mystery, trying to “tough it out” or blaming bad luck when the real cause is predictable contact points.
To prevent blisters from seams, you need more than shoe choice and luck. You need mapping: identify the exact lines where a seam, sock edge, or awkward angle rubs, then mark the “hot spots” before you start moving. That turns a random irritation into a clear plan, and it is hard to argue with a process that removes the guesswork.
Once you know where the rubbing happens, you can act immediately with moisture-wicking, well-fitting socks, and targeted protection like tape, moleskin, or gel blister patches. If redness starts at a mapped spot, treat it early and swap into dry socks if your feet heat up, because prevention works best when you intervene before the skin breaks.
Stop Trusting “Comfort” Claims
“Comfortable” shoes and socks rarely mean “blister-resistant.” They mean your feet did not complain in the store mirror lighting, for two minutes, on clean floors, without the seam geometry that shows up after an hour.
If your goal is to prevent blisters from seams, you should ignore marketing softness and focus on the mechanism: friction plus pressure plus moisture. Comfort labels do not measure those variables, so why would they predict outcomes?
The only reliable test is how the contact points behave over time.
Fit Beats Cushion Every Time
Blisters form where skin is repeatedly stressed. That stress comes from small movement inside the shoe, especially near the toe box and around any ridge that changes pressure mid-stride. A cushioned shoe can still allow that micro-sliding, so cushioning does not fix the root cause.
Look for a fit that limits lateral motion, not one that feels plush. Tight enough to reduce sliding, roomy enough to avoid toe pressure. If you feel “pressure” but not “movement,” you are closer to blister prevention.
Socks Are Part of the Problem
Many people blame shoes, then keep the same socks that create their friction. Sock seams can rub at an awkward angle, turning a normal stride into a constant shear force. That is exactly how seam irritation becomes a hot spot.
Choose moisture-wicking, shape-holding socks and favor seamless or runner-style construction. If your feet sweat, you do not just lose comfort. You increase friction effectiveness, and your skin pays the price.
Use Mapping Instead of Guessing
Guessing is what creates consistent blisters. You feel a sting later and assume the shoe is “worse than usual,” but sting timing is not the same as cause. Use mapping instead of guessing by locating where the pressure and rubbing lines actually happen.
Here is the core method. Before you start, dry your feet, then note exactly where the seam edge, sock stitching, or shoe seam contacts. After a short walk, mark where redness begins and compare it to your contact map.
Your blister is not random. It follows a pattern of contact.
Mark Hot Spots Before You Move
Mapping only works if you translate it into action. Identify the two or three most likely areas, such as around the side of the heel, the base of the little toe, or the seam line where your sock folds. Those are your “hot spots,” not vague “sore spots.”
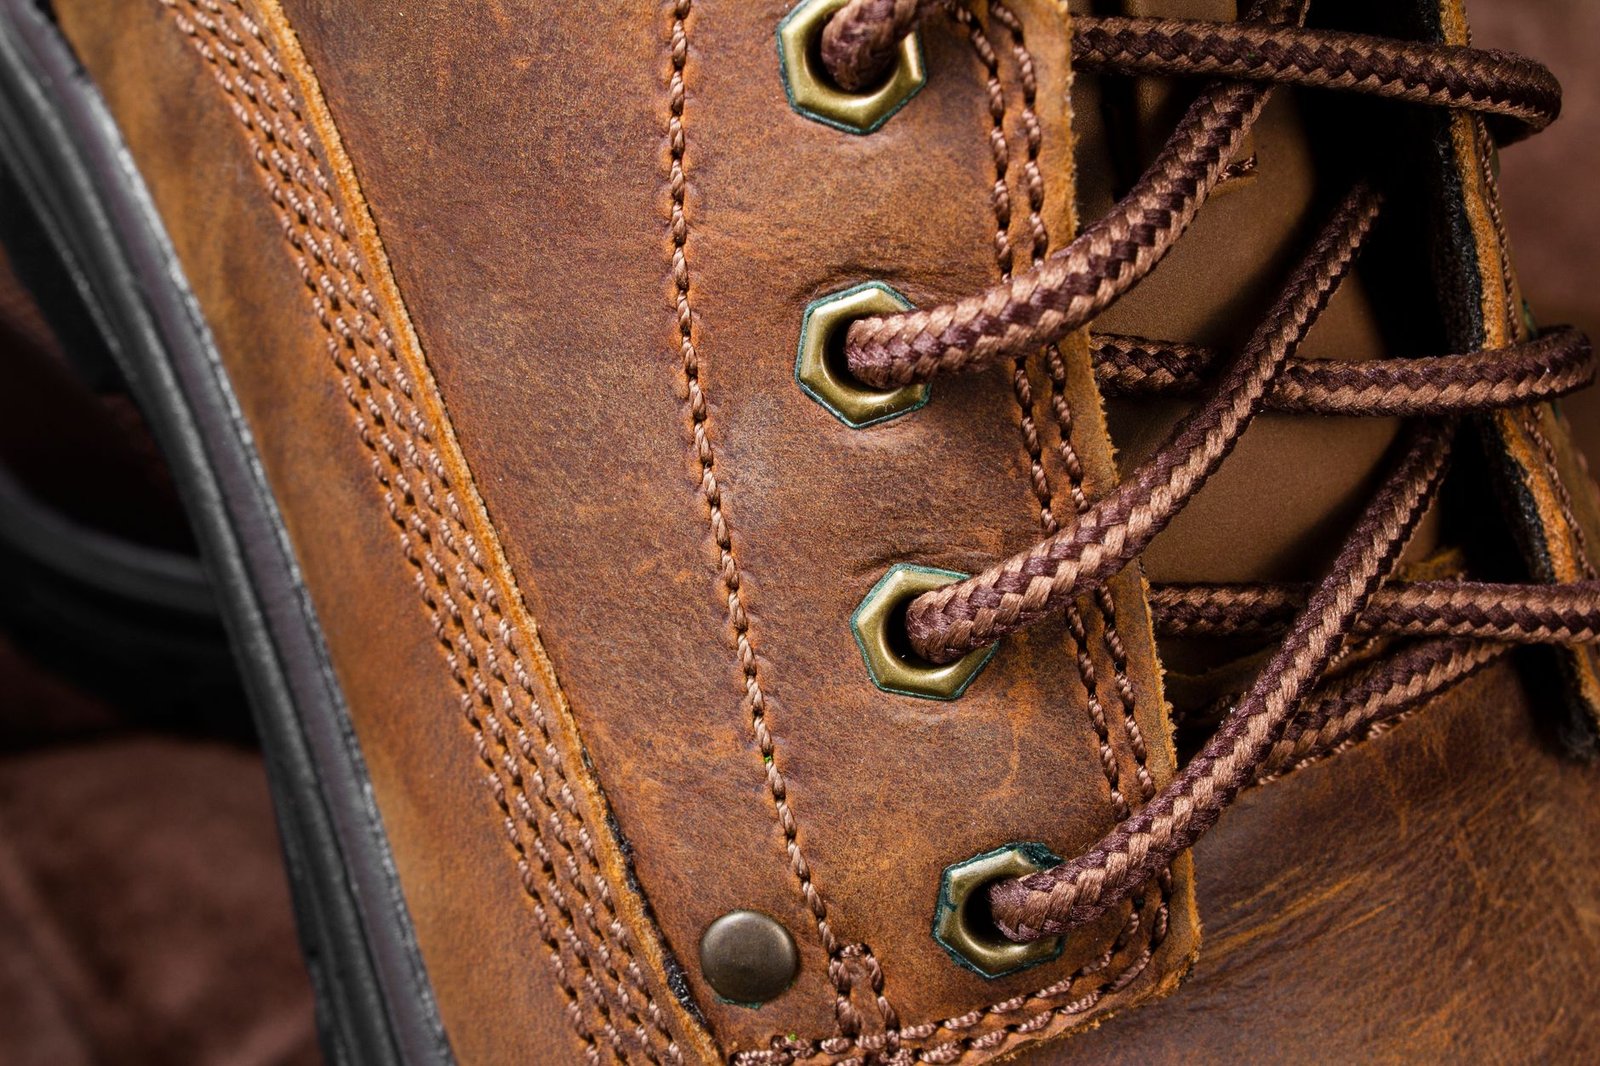
Now ask a practical question: where will you add protection first, the moment you feel discomfort, or the moment friction begins? Proactive protection beats reactive bandaging almost every time.
- Trace the seam or ridge line that touches your skin
- Mark where redness starts after 5 to 15 minutes
Tape and Moleskin Like a Plan, Not a Panic
Once you know your hot spots, treat them as an engineering problem. The best barrier is the one that stays put, reduces shear, and keeps moisture away from the skin where rubbing will happen.
| Hot Spot Type | Barrier Choice | Timing |
|---|---|---|
| Sock seam edge | Thin tape | Before the walk |
| Heel friction | Moleskin pad | At setup |
| Toe box rubbing | Gel blister patch | Over the red line |
| Moisture hotspot | Petroleum jelly | Skin contact area |
| High-sweat day | Absorbent liner | After drying feet |
Don’t overload. The goal is not to create bulk, it is to smooth the contact and keep friction from repeating. If tape wrinkles or peels, you have reintroduced movement, which means you have reintroduced the blister.
Plan for the first mile, not the last minutes.
Moisture Turns Friction Into Damage
Dry skin tolerates small friction better than wet skin. When socks hold sweat or evaporate too slowly, the friction mechanism becomes sharper because the skin stays softer and more vulnerable.
That is why moisture control is a blister prevention strategy, not a comfort upgrade. If your feet sweat, change into dry socks early, not after your skin already shows a red map.
Seam Direction Matters at Awkward Angles
Not all rubbing is equal. A seam that aligns with your gait behaves differently than a seam that crosses the contact line at an angle. That awkward angle can concentrate force and create a narrow red track that spreads into a blister.
When you map the contact points, pay attention to seam orientation. If the seam line you traced overlaps your redness exactly, you have found the culprit. If it does not, keep mapping. Blisters rarely “just happen” when seams are involved.
Shoe Seams and Laces Can Trigger Red Lines
Even if your socks are perfect, shoe construction can still irritate. Internal stitching, overlays, and hard edges can create pressure gradients that show up on the same spot repeatedly.
Also consider lacing tension. Too tight can drive a seam into the same ridge at every step. Too loose can let your foot slide until it repeatedly strikes the same internal surface. Adjusting lacing can change both pressure and motion, which is exactly what blister prevention requires.
When a Blister Forms Act Immediately
If a blister appears, treat it as a wound and stop the friction cycle. Covering it reduces mechanical stress and protects the skin from further breakdown. Leaving it exposed is an invitation for the blister to enlarge or tear.
That approach aligns with blister care guidance from major clinical sources, including the emphasis on protecting the damaged skin.
Healing Rules Protect Next Week’s Walk
Do not resume the triggering activity “for just a little bit.” A blister that looks small can still be an open stress site, and continued friction often converts it into a deeper injury that takes longer to recover.
Plan healing realistically. Many blisters need 1 to 2 weeks to settle, especially when the skin flap stays irritated. If you want to keep training, switch activities or adjust gear so the same seam contact does not return.
Build Your Own Test Run Routine
Blister prevention gets easier once you run controlled tests. Try the exact sock and shoe combination for a short distance, map any redness, then apply targeted protection for the next run. You are not gambling, you are iterating.
If you do this consistently, you will stop learning the hard way. You will also make your routine durable for travel, new routes, and weather changes, because your method is based on contact physics, not luck.
How Can You Prevent Blisters from Seams Using Mapping Instead of Guessing?
How Do Seams Cause Blisters, Especially When They Rub at an Awkward Angle?
Seams create raised pressure points that can slide against skin, and friction in awkward angles—like sock seam edges—builds heat and irritation until a blister forms.
What Socks and Shoes Should You Choose to Prevent Blisters From Seams?
Wear well-fitting shoes and moisture-wicking, shape-holding socks, ideally in seamless or runner-style designs if stitched areas trigger friction.
How Does Blister Mapping Help You Identify Hot Spots Instead of Guessing?
Map the exact rubbing and pressure lines by marking where sock or shoe seams touch and where redness begins, then treat those likely hot spots before you keep going.
Which Products Should You Use to Secure Hot Spots and Stop Friction?
Use tape, moleskin/gel blister bandages, or petroleum jelly on mapped contact points to reduce shear, cushion the area, and keep the skin protected.
How Can You Reduce Moisture to Lower Blister Risk?
Since sweaty skin increases blister risk, change into dry socks if feet get wet during activity and keep moisture-wicking fabrics working for you.
What Should You Do If a Blister Forms, and When Can You Resume?
Cover the blister and avoid the activity that caused the rubbing until it heals, which often takes about 1–2 weeks depending on severity.
Stop Guessing and Map the Friction
To prevent blisters from seams, use mapping instead of guessing by identifying the exact rubbing lines where your sock seam or shoe edge meets your skin and then protecting those hot spots before the irritation starts. Wear properly fitted shoes and shape-holding, moisture-wicking socks, treat likely contact points with tape or blister bandages, and keep feet dry by switching to clean dry socks. If you want fewer surprises on the trail or the sidewalk, follow the pattern of pressure, not hope.

I am Ozan, a London-focused running writer and marathon enthusiast with a passion for helping people discover the city’s best races, running routes, walking trails, and fitness events. I research and write practical, up-to-date guides covering marathons, race preparation, training tips, running gear, and everything related to staying active in London.
My goal is to create reliable, easy-to-follow content that helps runners and walkers of all experience levels explore London with confidence, whether they’re preparing for their first 5K or their next marathon.