Chasing exact splits in London is how your race goes sideways, because the course changes feel sharper than your GPS can explain. The smarter approach is simple: use course landmarks as effort checkpoints so your rhythm stays controlled even when the road tilts, crowds surge, and signals wobble.
Start by respecting the early downhill instead of trying to “bank time.” Aim for a steady, controlled effort through the Charlton descent, then treat the Cutty Sark area near the Royal Naval College as your next reliable reference point where it’s easy to surge and ruin your later pacing. When you reach the mentally tough stretch in and around Canary Wharf, especially near the Westferry Underpass, switch to effort-based pacing or prepared manual lap bands because GPS can bounce against tall buildings.
Finally, use Tower Bridge as your moment to re-stabilize, confirm you are on target, and push with intention rather than panic. Keep your distance guidance consistent by leaning on the course markers every mile, because those physical references help you hold marathon pace through elevation changes while you ignore the lies your watch can tell during the toughest sections.
Pace the Course, Not the Screen
London Marathon course landmarks for pacing: which ones to use and why comes down to one hard rule. You cannot manage a marathon with a device that lies when the city gets busy. GPS signal bounce, tall buildings, crowds, and elevation changes turn “exact splits” into a guessing game.
Course landmarks give you something the screen cannot. They give you timing decisions anchored to the physical world: where the road turns, where the descent begins, where spectators surge, and where the next rhythm change starts. Why chase a number that the course itself invalidates?
Run by landmarks and your effort stays stable, even when the tech disagrees.
Effort Checkpoints Defeat Early Split Panic
The biggest pacing mistake in London is trying to be “right” early. The plan is usually expressed as splits, but the body is moved by feel, terrain, and crowd pressure. If you over-respond to the first favorable stretch, you pay later with interest.
Use early checkpoints as effort gates. Ask yourself, “Am I controlled at this point in the course?” If your effort stays consistent through the early changes, your later miles become easier to manage.
Manage the First Downhill With Control
London often tempts runners into speed before they have earned it. A short early downhill changes how the road feels underfoot and how quickly pace “appears” on your watch. The result is predictable: the temptation to surge, then the crash when the grade levels out.
So treat the first downhill like a warning label. You are allowed to be quick later, not now. Your job early is not to win seconds. Your job is to avoid banking liabilities.
Charlton Descent From 5 to 7 km Run It Like a Limit
The Charlton descent is one of London’s most reliable effort checkpoints. The guidance is simple: aim to run controlled through the Charlton descent, roughly km 5 to 7 (about mile 5 to 7). This is where runners sprint “because it feels good,” then spend the rest of the race paying for that free-fall.
Hold a steady rhythm through the descent. Don’t negotiate with the downhill by letting turnover explode. If you do this correctly, you arrive at the next reference point with your breathing calm and your legs intact.
Cutty Sark Mile 6.5 Use the Crowd, Not the Crowd Noise
The Cutty Sark area by the Royal Naval College around mile 6.5 is a popular, spectator-dense section. That density makes it easy to surge. People will cheer louder than your training planned, and the temptation will feel like motivation.
Pick a technique and stick to it. Hold steady effort through Cutty Sark, then let the crowd be background. You can be grateful for the atmosphere and still run your race. That distinction is what separates fast pacing from chaotic pacing.
Canary Wharf Is Where GPS Stops Being Trustworthy
The stretch in and near Canary Wharf is mentally tough, and it can be deceptive. Tall buildings can make GPS signals bounce, and the Westferry Underpass amplifies that effect. Your watch may show speed changes that have nothing to do with your actual work rate.
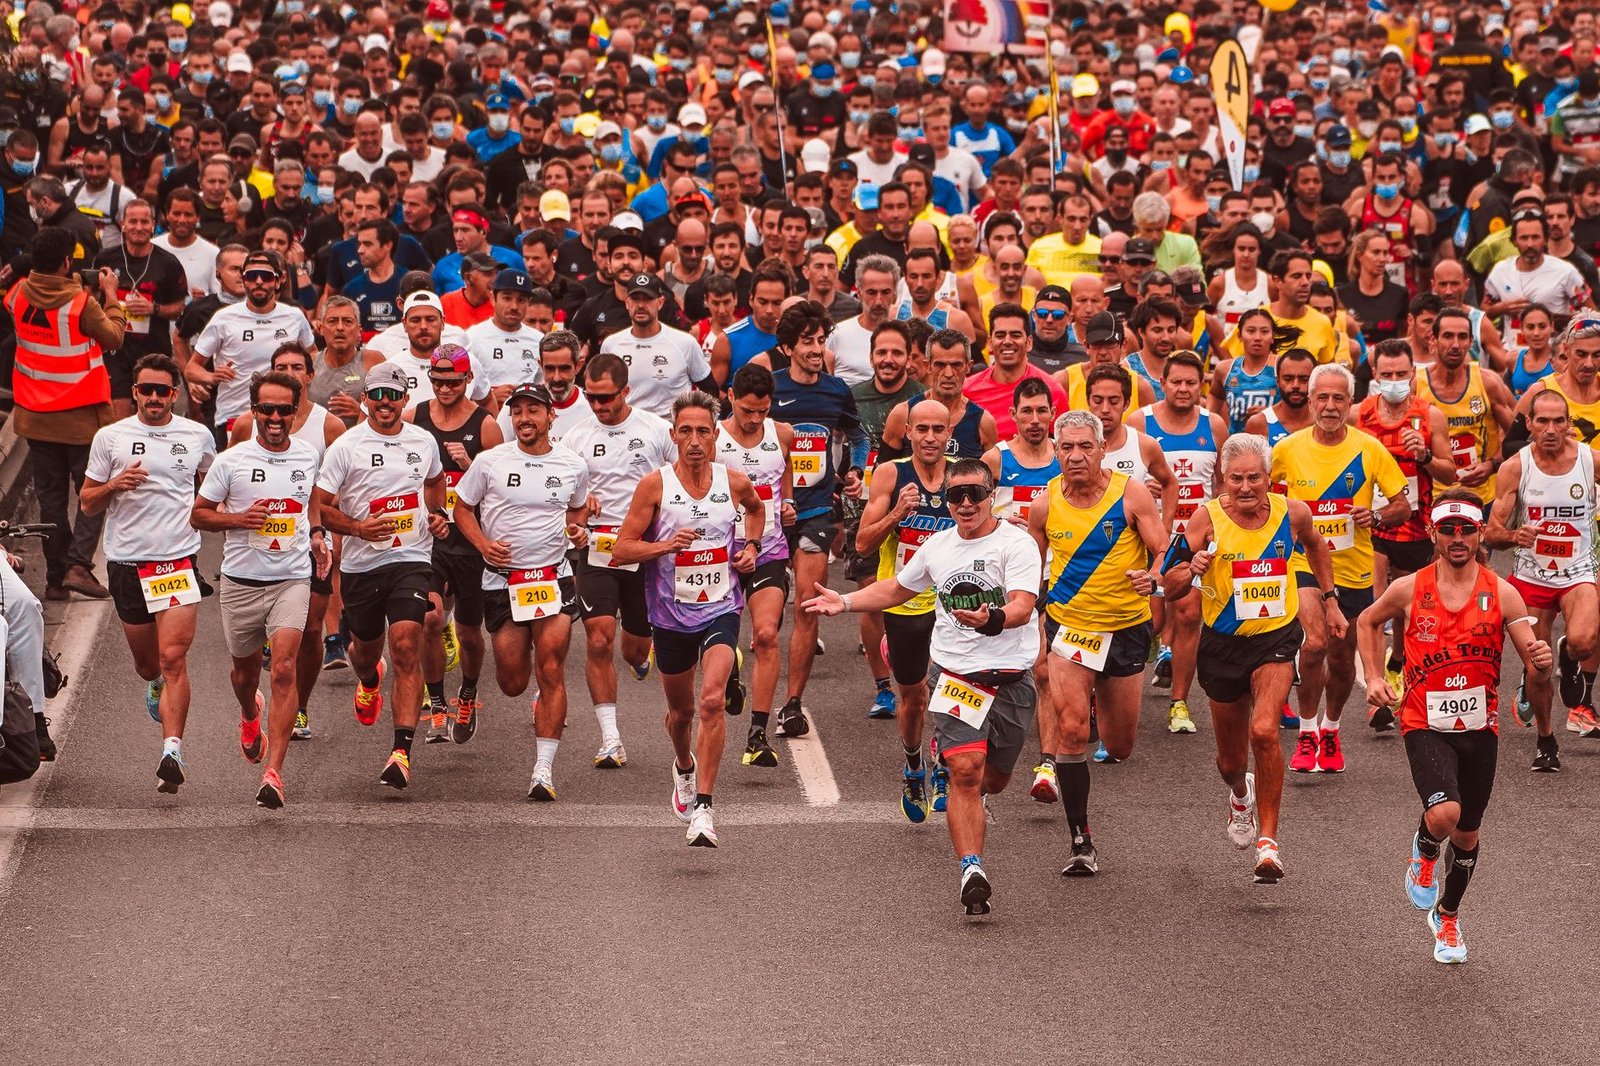
So stop treating GPS as authority here. Switch to effort-based pacing or use manual lap splits you can interpret in real time. If your pace graph jumps during a signal glitch, do you really want to steer your marathon by a software wobble?
Landmark Menu For Pacing Decisions That Actually Work
You want a short list you can execute when nerves spike. Here is a practical set of london marathon course landmarks for pacing decisions, mapped to what to do with your body at each point.
| Landmark | Approx Location | Pacing Decision |
|---|---|---|
| Charlton Descent | Km 5 to 7 | Controlled effort |
| Charlton Descent Mid | Mile 5.5 to 6.5 | Hold steady rhythm |
| Cutty Sark Area | Mile ~6.5 | Ignore crowd surge |
| Westferry Underpass | Miles ~12 to 13 | Trust course markers |
| Tower Bridge | Km 14 or Mile 14 | Re-stabilize and confirm |
When you run these checkpoints on purpose, you reduce decision fatigue. The race stops being a constant negotiation with your watch and becomes a sequence of repeatable actions.
Tower Bridge Is Your Re-Stabilize Moment
Treat Tower Bridge around km 14 or mile 14 as a moment to re-stabilize. If you have drifted into a too-hard early rhythm, this is where you notice. If you ran controlled through the earlier checkpoints, this is where you confirm you’re on target before pushing toward the next major rhythm change.
Confirm, then accelerate. Confirm breathing, confirm leg cadence, confirm your effort consistency. The bridge crossing feels iconic for a reason, but the real point is practical: it gives you a clear psychological reset.
Mile Markers and 5K Boards Keep Distance Honest
Reliable pacing is not just about speed. It is about correct distance tracking. London’s course is marked every mile and at 5K intervals, which gives you consistent distance guidance even when GPS inaccuracies show up.
Use those markings to anchor your elapsed time strategy. If your watch says you are off by a bit, you do not panic. You simply align to the course markers and keep the effort plan intact.
Manual Splits and Time Bands Replace Fancy Tech
When the course punishes GPS accuracy, you need a backup you can trust: manual lap splits and prepared time bands. The goal is simple. Your planning creates a range you can live inside, and your execution stays consistent even if your display fluctuates.
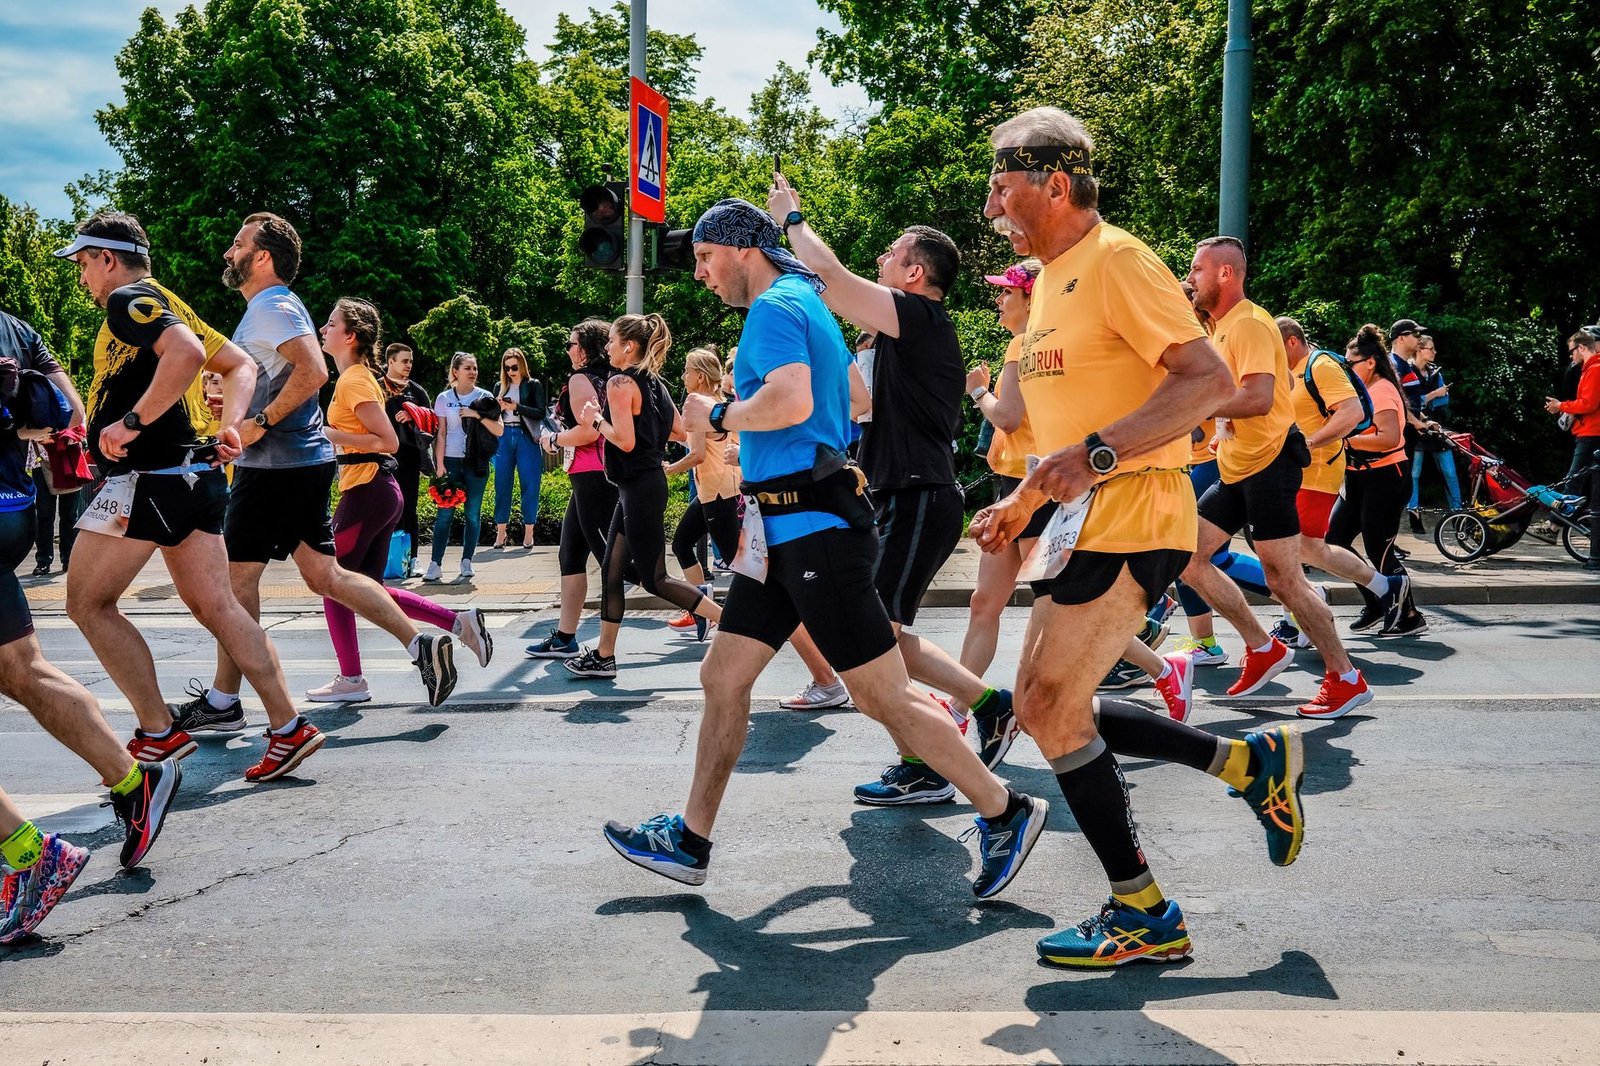
For a check against your planned splits, race pacing calculators can help you choose an effort band that you then hold to the landmarks.
Deceptive Sections Need Mental Scripts, Not Hope
In/near Canary Wharf, the race feels bigger than it is because the environment tricks your senses. Tall buildings, underpasses, and crowd energy change how you perceive effort. That is why people who “trained by feel” still blow up if they have no script.
Prepare a mental instruction for these miles. “When GPS bounces, I switch to course markers.” “When I hit the next landmark, I reassess effort, not pace.” This turns mental toughness into procedure.
Consistency Wins When You Use the Right Landmarks
Here is my position: remote work productivity thrives on outcome tracking, and marathon pacing does too. You do not “feel” results, you measure them against reality. For London, reality is the course itself, expressed through landmarks, mile markers, and 5K boards.
Use the landmarks you actually can execute under stress: Charlton descent for control at km 5 to 7, Cutty Sark for steady effort around mile 6.5, Canary Wharf and Westferry Underpass for effort-based pacing when GPS lies, and Tower Bridge for re-stabilize confirmation around mile 14. Then your marathon becomes predictable. And in London, predictability is power.
London Marathon Course Landmarks for Pacing: Which Ones To Use and Why
How Can London Marathon Course Landmarks Help With Pacing Instead of Chasing Exact Splits?
Use course landmarks as “effort checkpoints” so you control pace by feel during elevation and crowd density changes, then verify your plan at marked points rather than relying on a single GPS split.
Which London Marathon Landmark Works Best After the Early Downhill for Controlled Pacing?
After the early downhill, run controlled through the Charlton descent so you do not go out too fast, then lock in your rhythm once you pass that section and move into steadier running.
Why Should You Use the Cutty Sark Area Near the Royal Naval College as a London Marathon Pacing Reference?
The Cutty Sark area is a clear, recognizable reference point with good visibility, and it helps you hold steady because the spectator support makes surging tempting.
What London Marathon Landmarks Should You Rely on When Canary Wharf GPS Signal Bounces?
In and near Canary Wharf, tall buildings and areas like the Westferry Underpass can make GPS accuracy worse, so switch to effort-based pacing and trust the official course markers and your manual lap timing.
How Can Tower Bridge Be Used as a London Marathon Landmark to Re-Stabilize Your Pace?
Use Tower Bridge as your moment to check that your effort and time match your target, then push with control as you prepare for the next rhythm change rather than reacting to a fluctuating GPS pace.
Which London Marathon Mile and 5K Markers Improve Consistent Pacing With Elevation Changes?
Plan to use the mile markers and 5K intervals to keep guidance consistent, and base decisions on manual lap splits or a prepared pace card so elevation changes and GPS drift do not derail your marathon plan.
Use London Marathon Course Landmarks For Pacing And Stay In Control
For London Marathon pacing, the answer to “london marathon course landmarks for pacing: which ones to use and why” is simple: treat landmarks as effort checkpoints, not targets for perfect GPS splits. When you run controlled through the early downhill, hold steady around the Charlton descent, trust reliable reference points near Cutty Sark, and switch to manual lap timing through tricky GPS zones like Canary Wharf, you keep your rhythm intact through the mental and physical grind. If you pace by the course you are on, you arrive at Tower Bridge calm and ready to push, and that is how you protect your finish.

I am Ozan, a London-focused running writer and marathon enthusiast with a passion for helping people discover the city’s best races, running routes, walking trails, and fitness events. I research and write practical, up-to-date guides covering marathons, race preparation, training tips, running gear, and everything related to staying active in London.
My goal is to create reliable, easy-to-follow content that helps runners and walkers of all experience levels explore London with confidence, whether they’re preparing for their first 5K or their next marathon.