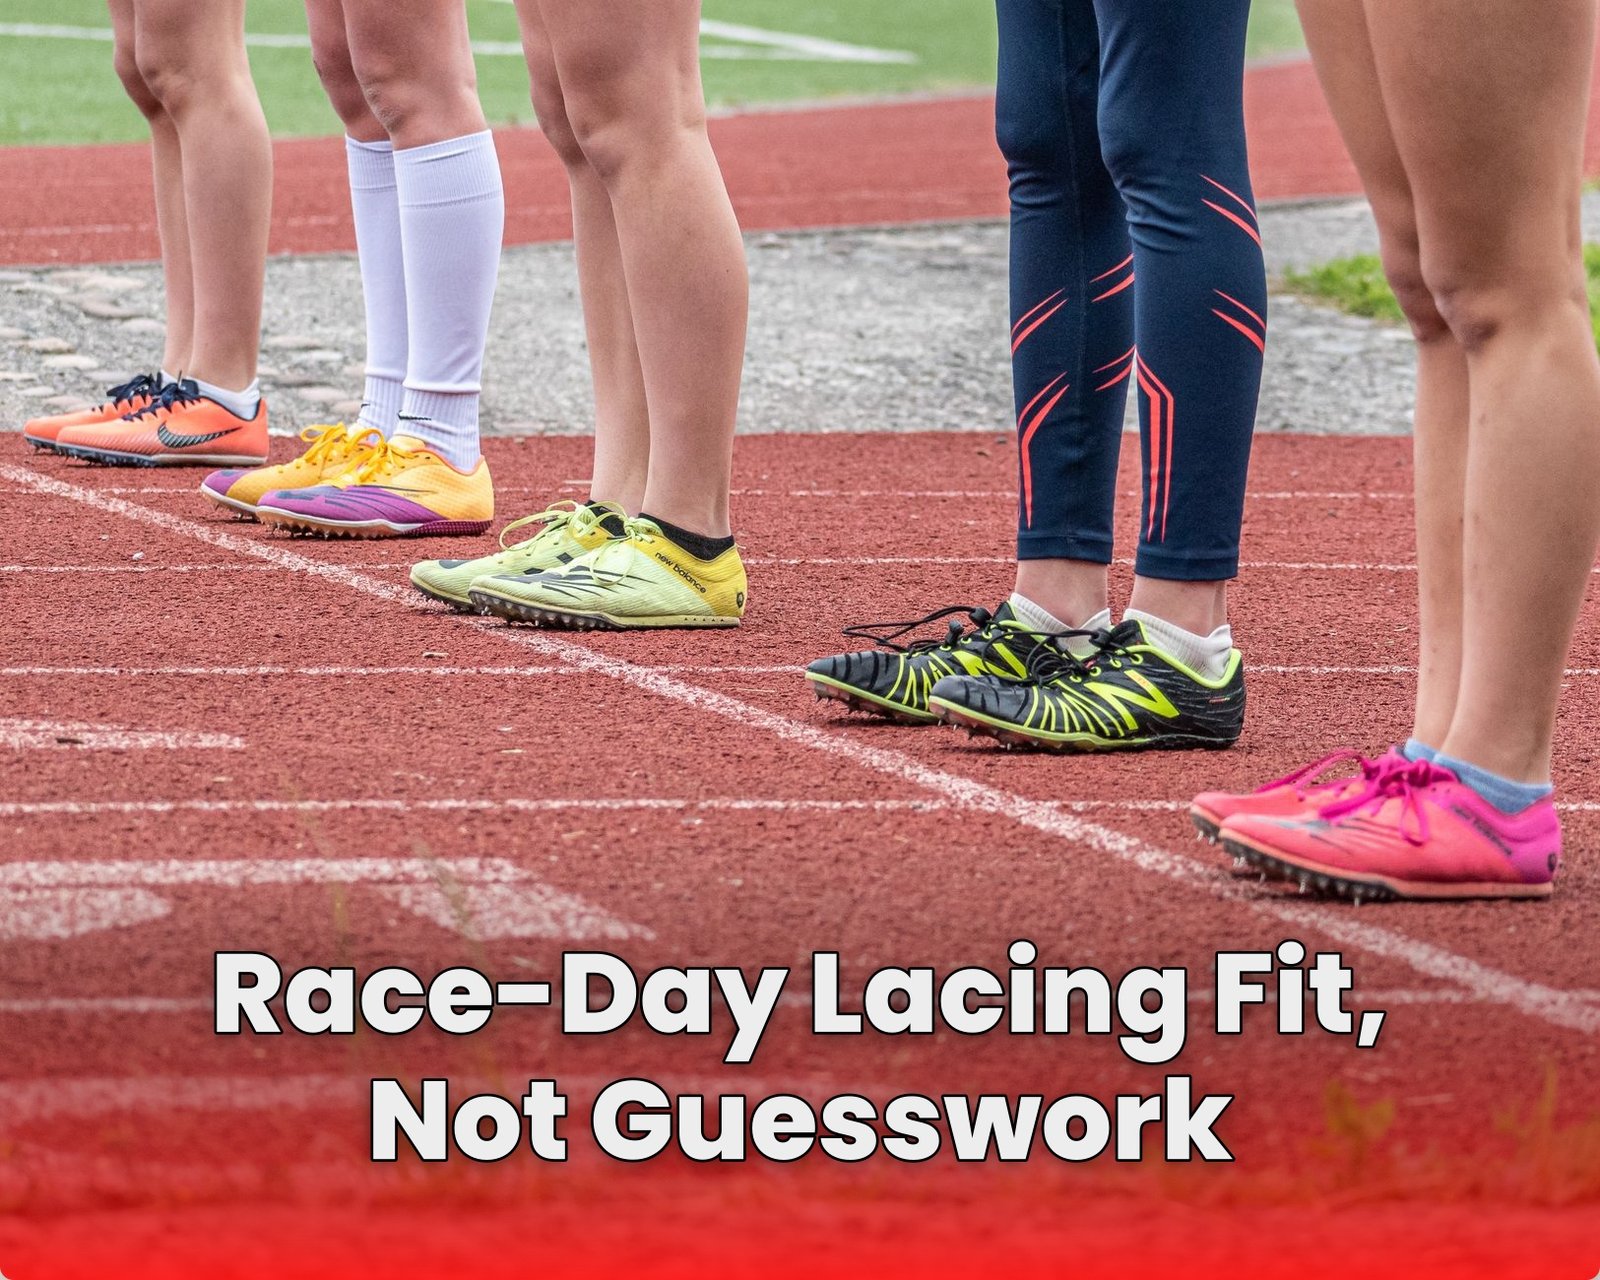
You do not win the race by copying a random lacing diagram, and anyone who tells you otherwise is selling comfort myths. The real approach to how to choose between lacing styles for better fit on race day is simple: diagnose the problem spot and lace to fix it without compromising the overall hold.
When your heel slips, that is not a “tie tighter” moment, it is a method moment. Use a heel lock or runner’s loop to stop rear movement, and only tighten enough to keep the midfoot stable, with a little toe wiggle room for long efforts.
For pressure on top of the foot, switch to a straight bar or parallel lacing to reduce upper tension, and if you need more forefoot space, adjust the crossing pattern so you get room where it hurts. If your lacing changes still do not solve it, stop fighting the shoe and consider the fit is wrong in size or width, then practice the exact setup on real runs before race day.
Race Day Fit Starts With Shoe Size, Not a Knot
Let’s be blunt. If your shoe is the wrong size, width, or foot shape, no lacing style will save race day. The knot only reallocates pressure that already exists. It cannot redesign the last.
That is why how to choose between lacing styles for better fit on race day must begin with a fit standard: a snug heel and midfoot, with little to no heel movement when you lift your foot, plus some toe wiggle room. If you do not have that baseline, you are using lacing as a bandage.
Find the Pressure Map First, Then Change the Pattern
Before you touch your laces, ask one question: where exactly does the shoe stop you from moving freely. Is it the heel that slips, the top of the foot that bites, the midfoot that bruises, or the toes that get jammed as speed and swelling build?
Over-tightening is the most common mistake because it feels like progress. But tightening where you should not tighten can restrict circulation and lead to numbness or bruising. So check your pattern against reality, not against habit.
- Snug heel and midfoot when standing, with minimal heel lift movement
- Toe wiggle room so your forefoot can load without smashing
- No numbness or discoloration after a short run
Stop Heel Slip With Heel Lock Runner’s Loop
If your heel slides, your entire stride feels unstable. You may compensate with a death grip from your toes, which then creates new problems. The fix is not more tightness everywhere. The fix is a heel-specific lock that keeps the heel seated.
Use a heel lock or runner’s loop. Lace normally in a criss-cross until the second-to-last eyelet, thread through the last eyelet so the lace exits inside to form a loop, then cross the laces and thread them through the loops before pulling tight and tying.
- Criss-cross to the second-to-last eyelet
- Loop through the last eyelet so the lace exits inside
- Cross and thread through the loop, then tighten
Relieve Top of Foot Tightness With Straight Bar Lacing
Pressure on the top of the foot is usually an upper-tension problem. When you lace in a traditional criss-cross, you stack tension diagonally, which can over-constrain the lacing saddle as your foot rises and falls.
Straight bar or parallel lacing reduces that squeeze. Skip alternating eyelets and run the laces up the sides instead of crossing over the top. You keep a secure fit where you need it, while giving the top more room to flex.
Create Toe Room Without Overly Loosening Everything
Toe pain and black toenails are not mystery symptoms. They often come from forefoot crowding and inadequate space as your foot expands and the shoe flexes on race pace.
The answer is toe-room targeted lacing, not generic looseness. You want the shoe to stay held at the heel and midfoot while you lift the toe box using methods that shift where the laces cross, sometimes creating a small “gap” over the forefoot where you need extra space.
High Midfoot Pressure Needs Localized Side Threading
When the midfoot bruises or feels like the shoe is gripping too hard, the mistake is usually treating the entire instep the same way. The upper has different tension needs across the foot, and midfoot pressure calls for a midfoot-specific change.
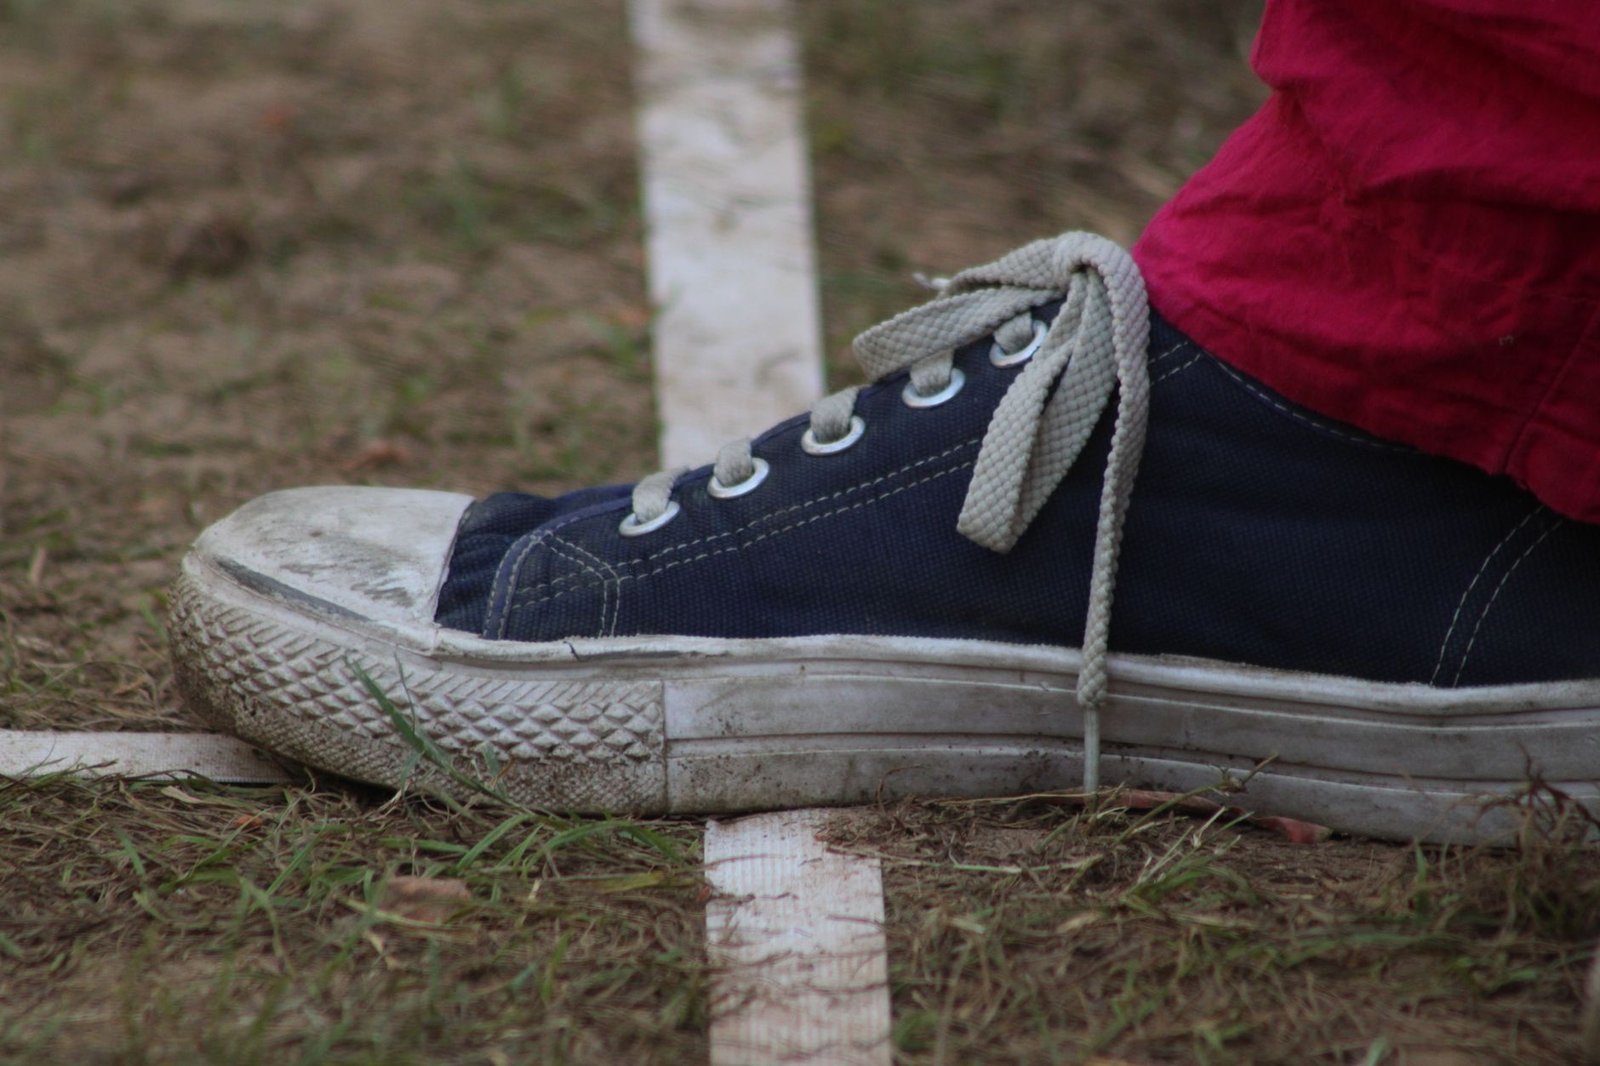
Think locally: lace normally for stability, then adjust only in the pressure zone before you return to your usual hold near the top.
| Lacing Change | Target Area | Expected Fit Result |
|---|---|---|
| Switch to side-only threading for 2 eyelets | High midfoot squeeze | Less vertical compression |
| Use side threading for 3 eyelets | Bruising spot | Lower pressure intensity |
| Resume criss-cross at 1 eyelet below top | Upper lock | Heel and midfoot stay anchored |
| Keep top laces moderately tight | Instep comfort | Reduced numbness risk |
| Avoid whole-shoe over-tightening | Entire foot | More even circulation |
If the pressure disappears after a localized adjustment, you found the culprit. If nothing improves, your shoe likely has the wrong last shape for your foot, and no lace trick will fix that.
High Arches Benefit From Middle Side Eyelets
High arches can feel crushed even when the heel is locked in. The pattern you use across the midfoot can either respect your arch’s height or flatten it with tension that does not belong there.
For high arches, lace with side eyelets in the middle to reduce midfoot pressure. Instead of tightening diagonals across the highest point of your arch, channel the tension to the sides so the arch area can sit comfortably while the shoe still conforms around it.
Wide Forefoot Calls For Forefoot Opening Laces
If your forefoot spills over or your toes feel cramped, you need width where it matters, not pressure elsewhere. Wide forefoot issues often start when the lace path compresses the shoe’s upper at the exact moment your foot expands.
For a wide forefoot, lace to open the toe area. Start with side-only threading in the forefoot region and use criss-crosses farther back to keep the toe box from becoming a vise.
Narrow Feet Need Targeted Lockdown, Not Whole Shoe Tightness
Narrow feet are not “slow” feet. They are just vulnerable to excess space inside the shoe. When the laces run a uniform pattern, the shoe can move too much, forcing your foot to scramble to stay stable.
To lace more securely for a narrow foot, tighten the affected section by skipping a middle eyelet and tightening where the shoe loosens. That targeted lockdown improves hold without strangling circulation across the whole top.
Generally Wide Feet Should Loosen the Laces Entirely
If your foot is broadly wide rather than just wide in the forefoot, your goal is different. You do not want to create one overly tightened zone that you then try to compensate for above and below.
For generally wide feet, use a more spaced pattern such as a criss-cross every other eyelet. That loosens the entire shoe while still allowing you to keep the heel and midfoot snug enough for stable running.
Practice the Setup Before the Start Gun
A lacing pattern that feels fine in the driveway can fail once your stride and swelling hit race pace. Your job is to test the fit on a controlled run so you can adjust before the stakes get high.
Try the chosen setup during easy miles, then check for heat spots, numbness, or bruising. If you want a quick checklist of lacing approaches, review lacing technique guidance while you compare methods to your pressure map.
When Lacing Fails, Admit the Shoe Shape Is Wrong
Here is the rule that saves race day: if lacing changes do not fix the issue, the shoe is the problem. No runner should accept numbness, bruising, or persistent heel slip as “just how it is.” Those are signals about fit, not personal weakness.
Good lacing is a precision tool. If it cannot correct the problem, you need a different shoe, not a tighter knot.
So choose based on evidence: correct heel hold, midfoot stability, and toe wiggle room first. Then apply the lacing style that matches the specific problem area, and stop there. Anything else is chasing symptoms instead of solving the fit.
How Do You Choose Between Lacing Styles for a Better Race-Day Fit?
How do you match the lacing style to the fit problem on race day?
Start with the problem area—heel slip, pressure on top, toe crowding, or midfoot tightness—then pick the lacing pattern that changes tension where you need it while keeping the shoe snug overall, and stop if you notice numbness or bruising.
When should you use heel lock, runner’s loop lacing, to stop heel slip?
If your heel lifts when you run, lace normally through the eyelets, go to the second-to-last eyelet, thread the lace through the last eyelet so it exits inside to form a loop, then cross the laces and pull tight before tying.
How does Lydiard, or parallel lacing, help with pressure on top of the foot?
For tightness or bruising on the instep, use parallel or straight-bar lacing by reducing alternating tension across the top—skip some alternating eyelets and run the laces up the sides to lower upper-foot pressure.
What lacing technique gives more toe room when you feel cramped or get black toenails?
When toes feel squeezed, use a lacing setup that lifts or “creates a gap” over the forefoot by changing where the lace crosses, so you keep a secure heel and midfoot while giving extra space where the toes need it.
How can you adjust lacing for high arches, wide forefeet, or narrow feet?
For high arches, lace through side eyelets in the middle to reduce midfoot pressure; for wide forefeet, open the toe area with side-only threading and farther-back criss-crosses; for narrow feet, lace more securely by tightening the affected section and skipping the middle eyelet.
What signs mean your shoe size or width is wrong, not just your lacing?
If careful lacing changes don’t fix heel slip, top pressure, toe crowding, or midfoot bruising, the issue is likely sizing, width, or foot shape—reassess the fit and consider a different size/width rather than over-tightening.
Pick the Right Lacing for Race-Day Fit
Learn the practical answer to how to choose between lacing styles for better fit on race day by matching each tweak to the exact problem area, then protecting circulation with a secure, non-numbing hold and a stable heel. If your lacing changes do not fix heel slip, top-of-foot pressure, or forefoot crowding, stop forcing it and choose the correct size and width instead, because a dialed-in setup beats guesswork every single time on race day.

I am Ozan, a London-focused running writer and marathon enthusiast with a passion for helping people discover the city’s best races, running routes, walking trails, and fitness events. I research and write practical, up-to-date guides covering marathons, race preparation, training tips, running gear, and everything related to staying active in London.
My goal is to create reliable, easy-to-follow content that helps runners and walkers of all experience levels explore London with confidence, whether they’re preparing for their first 5K or their next marathon.