Most people blame “bad luck” when they get toe blisters, but the real cause is simple: a shoe that rubs because it was never tested properly before the trip. Travel turns small friction into painful hot spots, especially when you switch walking speed, weather, and sock type. If you do fit checks ahead of time, you remove the problem at the source instead of treating it after the damage starts.
So start with fit checks before you travel, not on day one in the airport. Wear the exact shoes and socks you plan to use, then walk around long enough to feel pressure points. Look for pinch, slide, and toe seams that press against the same spot, because blistering is usually repetition, not randomness. If your shoes feel slightly off, fix it now with a better shape or width, and break in anything new gradually so your feet do not discover rubbing only once the schedule is packed.
Then plan friction control like a traveler who expects to walk a lot. Choose moisture-wicking socks to keep the skin from getting soft, pack an extra pair in case sweat dampens your first set, and use a barrier on high-risk spots before you head out. Add preemptive coverage like blister patches or gel toe sleeves for areas that always flare up, and treat hot spots immediately by reducing pressure and padding them rather than waiting for a full blister to form.
Fit Checks Beat Bandages
If you want to avoid toe blisters while traveling, stop treating blisters as an accident and treat them as a predictable failure of fit. Most hot spots start long before you feel pain, because your toes move against the shoe while you walk. The fix is preventing that movement before you leave.
When you do fit checks with the same socks, insoles, and walking you will use on the trip, you reduce friction and pressure at the exact spots that usually fail. Why buy “miracle” blister products if the shoe still rubs at minute ten?
Blisters are rarely random. They are a mechanical result of rubbing, moisture, and pressure.
Stop Buying Based on Size Alone
People think “my size is right” means “my toe box is right.” It often does not. Shoe size is a single number, but blister risk comes from shape: toe box width, toe room height, and how the upper collapses when you step.
During a fit check, look for three failures: pinching (toe joints compress), sliding (toes push forward), and odd pressure (one toe takes the load because the shoe’s curve does not match your foot). Any one of those can start a blister, even if the shoe feels comfortable standing still.
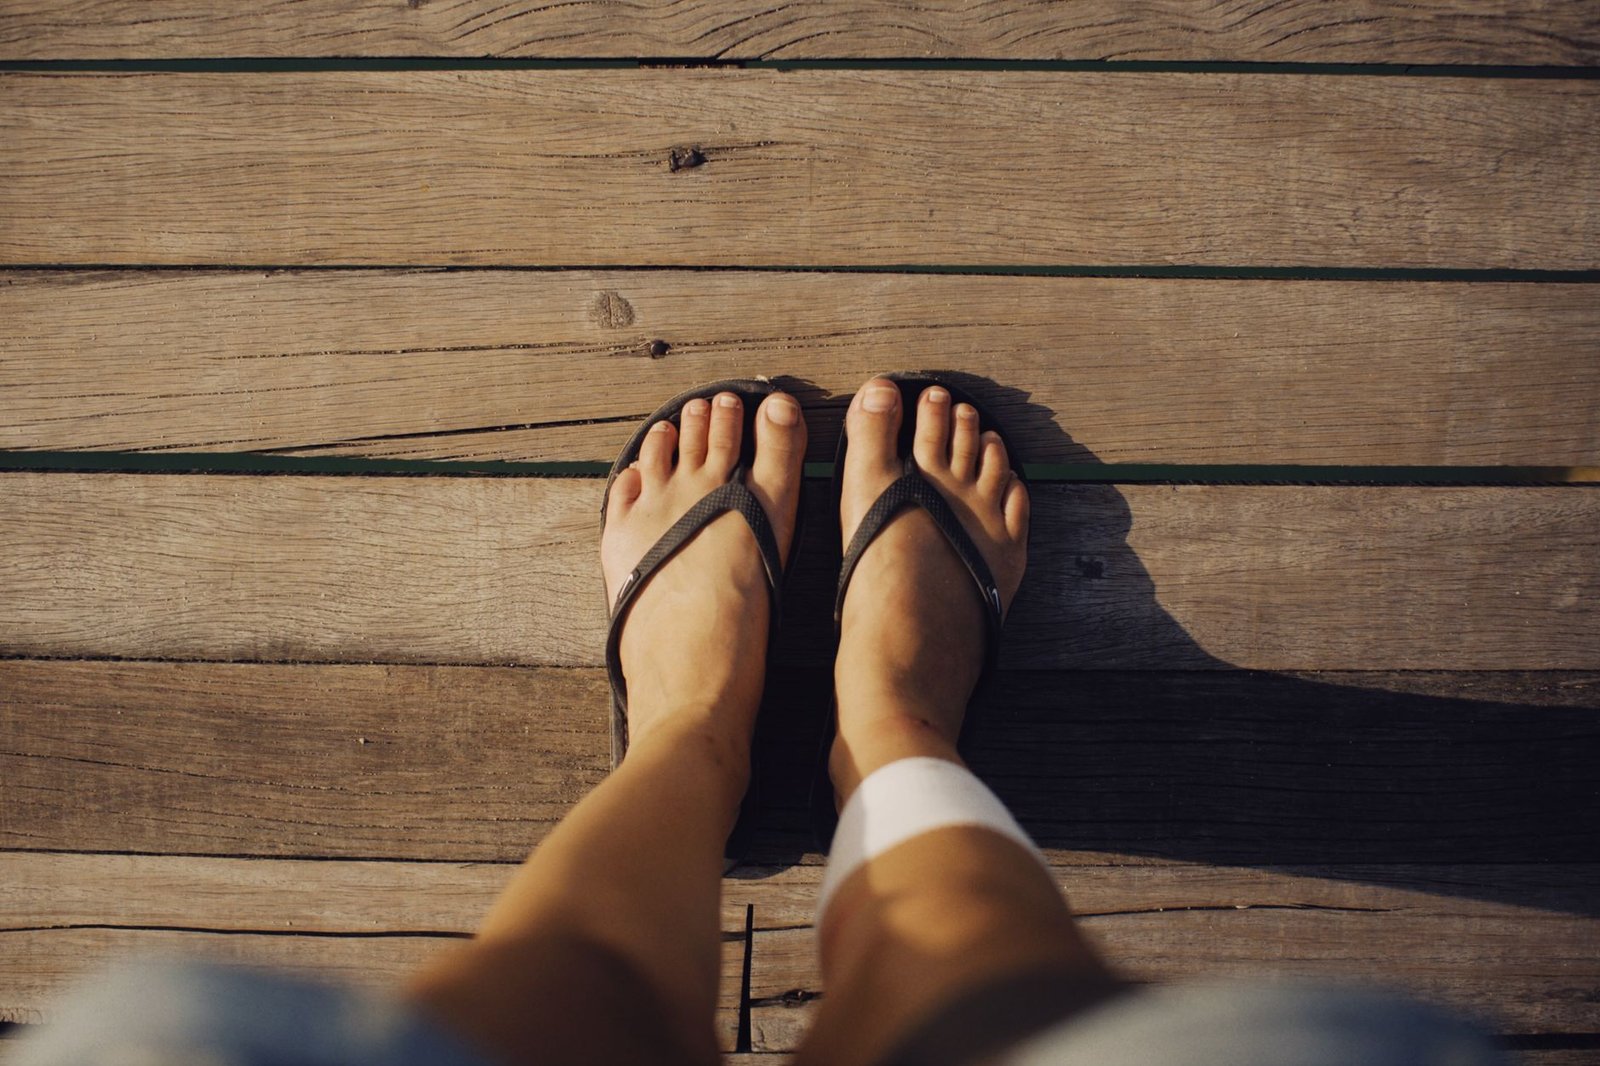
Try your shoes on at the end of the day when feet are slightly fuller. Do you still have room to wiggle your toes without bumping the front? If not, you have your answer.
The Sock-Shoe Friction Test
Most travelers only test the shoe, then blame their socks after the first day. But blister formation is a friction system: sock fabric, toe seams, and shoe material all interact. Wear the exact socks you plan to pack, then re-check fit with them.
Do a short friction test by walking in a hallway for 5 minutes. If your toes feel like they “skate” or if you notice any seam edge pressing, that seam will likely become a hot spot on day one of sightseeing.
- Choose moisture-wicking socks such as synthetic or merino wool blends instead of cotton.
- Confirm there is no toe seam that sits directly over the most exposed area of your toes.
Walk Like You’ll Walk On Day One
A stationary fit check lies to you. Your feet expand and your gait changes with stairs, uneven sidewalks, and longer distances. So simulate the trip. Bring the shoe to a real walking environment and test it like you mean it.
Walk with the pace and movements you will use: short bursts, turns, and up a small incline if possible. You are looking for one thing: does the pressure and friction stay stable or does it shift as you continue?
If the fit feels fine for two minutes and painful for ten, your shoe is unstable under load.
Dry Shoes Before You Leave
Moisture turns gentle rubbing into skin breakdown. If your shoe is slightly damp during a fit check, you are testing in the wrong conditions. Before you leave, make sure the shoes and socks are truly dry.
Wear the shoes at home with socks and check again after the shoes warm up. If the upper feels clammy or the sock stays wet, switch materials or change the sock type. Many travelers learn this the hard way during rain, sweaty commutes, or long indoor-outdoor transitions.
Does your toe box feel like a humid box after 15 to 20 minutes of walking? If yes, friction will win.
Toe Seam And Cushion Inspection
The most common blister site is not random. It is usually where a seam, a stitching ridge, or a rough edge meets skin. That can happen at the top of the toe, the sides, or near the end of the insole.
Do a careful visual inspection and then a tactile one. Run your fingertips inside the shoe, especially along the toe box and the line where the upper meets the insole. If you feel a ridge, you have already found the future hot spot.
Also check the insole length and shape. If your toes press against a firm front edge, the shoe is not “almost right.” It is wrong.
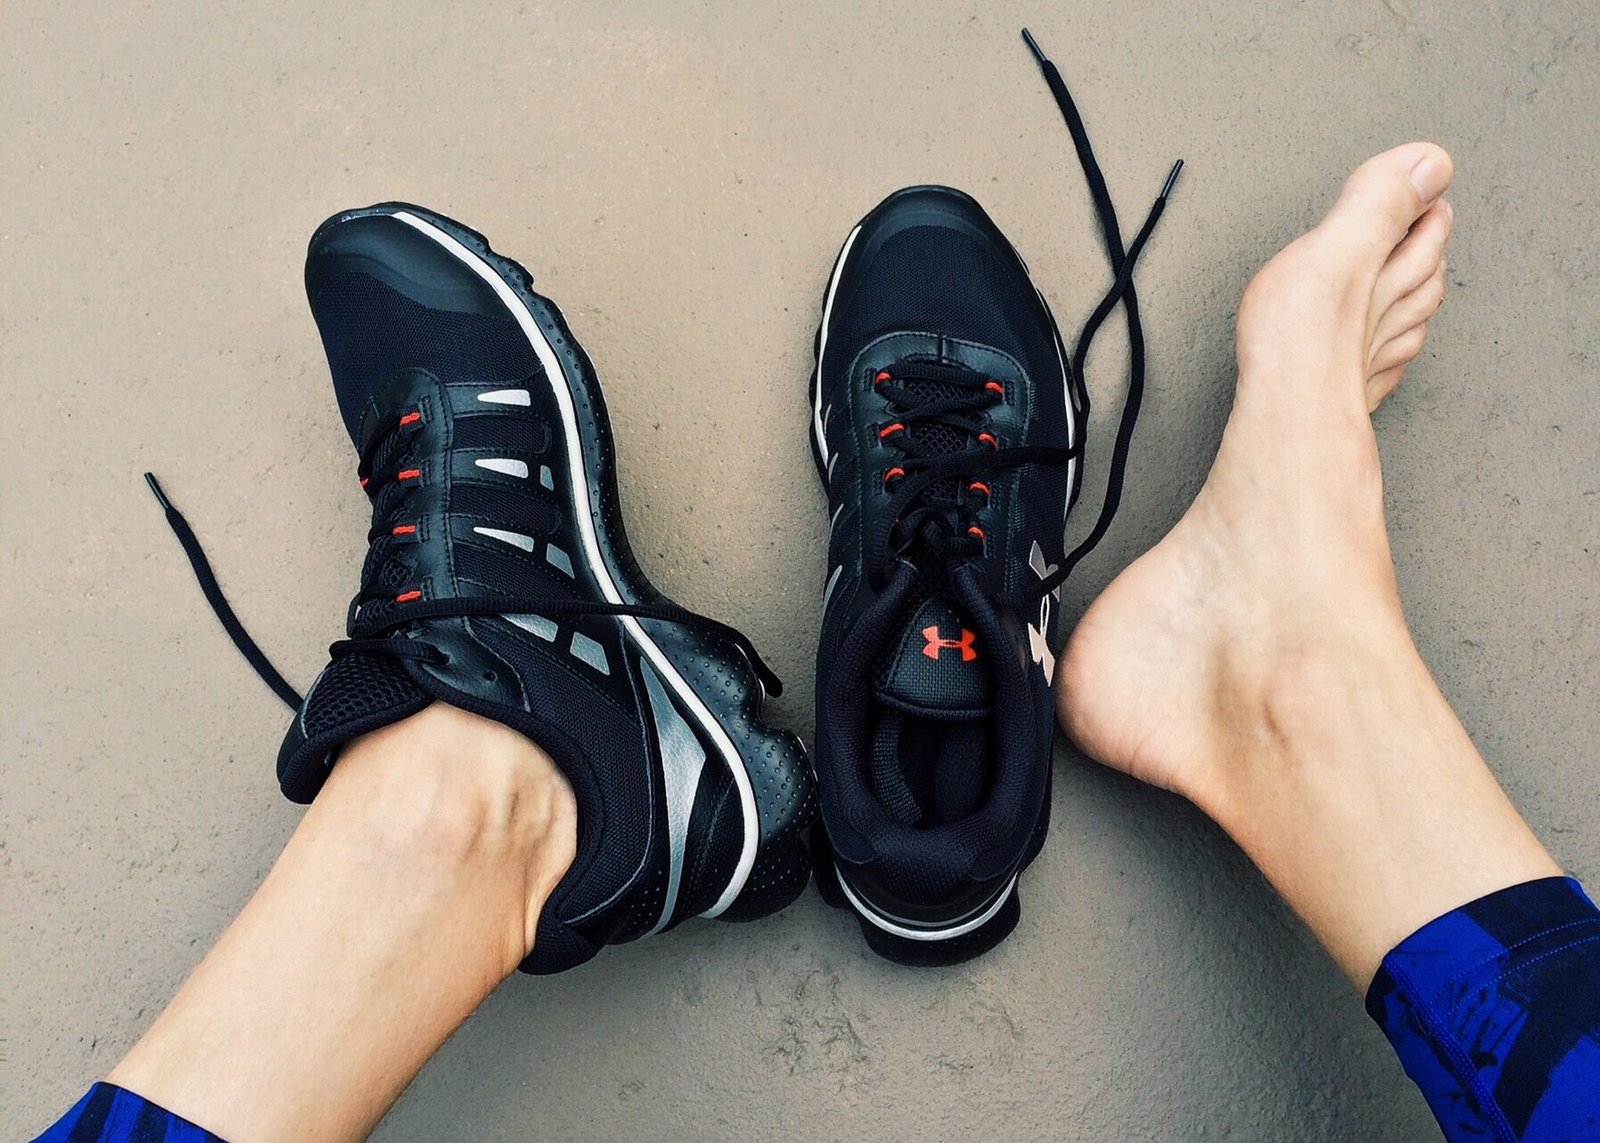
A Simple Pre-Trip Trial Plan
If you want the practical answer to how to prevent toe blisters with fit checks before you travel, use a plan that forces your feet to reveal weaknesses early. Do not rely on the first day of the trip. Force the first day to happen at home.
Here is a compact trial plan you can run before packing:
| Trial Step | Time Or Distance | Decision Rule |
|---|---|---|
| Wear With Trip Socks | 10 min | No hot spot by minute 10 |
| Toe Box Wiggle Check | 30 sec | No pinching or toe jam |
| Walk And Turn | 1,000 steps | No toe slide with turns |
| Stair Or Incline Test | 2 to 3 flights | No front-edge pressure |
| End Check After Warmth | 5 min rest | Dry feel, no seam sting |
Now the key part: if any rule fails, fix it before travel. Try a different size, a wide or double-wide option, a different insole, or a different sock. Why gamble on blister pain when the shoe is still in your hands?
If you need extra help, a specialized athletic store fitting can catch shape problems you miss at home. It is also worth asking for help if you have recurring toe issues.
Break In With Smart Mileage
New shoes are not automatically unsafe. But “new” often means materials shift during the first days of use, and that shift can create rubbing where none existed in the first fitting. Break in gradually, so the shoe learns your foot before you face a full day outside.
Use short sessions at home and around your usual errands. Increase time in small steps. If you feel a specific hot spot developing, pause the break-in, adjust the fit, or switch the pair. Do not treat pain as a normal part of adaptation.
Comfort after a week beats comfort after a first try.
Barrier Protection Where Rubbing Starts
Even the best fit checks cannot remove every risk, because travel adds variables like sweat and longer hours. So protect the predictable friction points. Barrier products work best when applied early, before skin becomes inflamed.
Choose an anti-blister barrier such as a balm, stick, or gel product on high-risk spots like the side of a toe that slides or the top where seams irritate. Petroleum jelly can help in a pinch, but friction control is the goal, not mess.
Prevention is lubrication and positioning. Bandages are backup.
Apply barrier to the exact areas that show early redness during your trial walk, not random “probably” locations.
Bring Spares And Treat Hot Spots Early
Assume you will need emergency help at least once. Pack a small blister kit so you can respond in minutes. When a hot spot appears, you do not wait for a blister. You reduce pressure and friction right away by padding the spot and covering the area.
Carry bandages or moleskin and consider gel toe sleeves for toes that repeatedly rub. Also pack an extra pair of moisture-wicking socks. If your socks get damp, change them immediately, because moisture keeps the friction cycle running.
Quick action matters. Cleveland Clinic guidance recommends changing socks when they get wet because dampness accelerates irritation.
Swelling Control For Flights And Long Days
Flights and long travel days can increase swelling, especially in the toes and forefoot. That swelling changes the fit you tested at home. Suddenly, a shoe that felt correct can become tight in the toe box after hours of sitting and limited circulation.
If swelling is a pattern for you, consider compression socks that fit properly before travel and keep your shoes laced to maintain stable position. After landing, take time to elevate your feet and reassess how the shoes feel as your circulation returns.
Then do a quick self-check: do your toes feel pressed at the front edge, or do they slide more than usual? Either condition raises blister risk on the same day.
Pack Like Blistering Is Predictable
You cannot pack for every scenario, but you can pack for the scenarios that repeat. If a particular toe is your usual problem, treat it like the main character. Fit checks identify where trouble starts, and packing ensures you can respond on the spot.
Build a shoe-and-toe kit around prevention: moisture-wicking socks, barrier protection for hot areas, and a small supply of blister coverage. If you are going on a multi-day trek or a city marathon of walking, plan to swap socks and re-check your comfort during breaks.
The travelers who avoid toe blisters do one thing consistently: they prevent friction and moisture before damage appears, then they manage the first signs immediately.
How to Prevent Toe Blisters With Fit Checks Before You Travel
How Can Fit Checks Before You Travel Help Prevent Toe Blisters?
Fit checks before you leave reduce rubbing by confirming that your shoes hold your feet without pinching or sliding, and that your toe area has the right space and seam placement, so pressure stays even during walking.
What Shoe Fit Should You Check to Stop Toe Blisters Before Your Trip?
Check that your toes do not hit the front when you walk, the shoe is secure at the heel, and the toe box matches your foot width, since a narrow or loose fit increases friction and creates pressure points.
How Do You Break in New Shoes Using Fit Checks Before You Travel?
Wear new shoes for short periods before the trip and repeat fit checks after each wear to confirm there is no toe pinch, heel slip, or seam rubbing, then increase walking time gradually instead of relying on them during sightseeing.
Which Socks and Moisture Steps Reduce Toe Blisters After Fit Checks?
Use moisture-wicking socks such as synthetic or merino wool blends, avoid cotton, and change socks if they get damp, because wet skin increases friction and makes hot spots form faster.
When Should You Apply Anti-Blister Barriers and Toe Sleeves Before You Travel?
Apply an anti-blister barrier on areas that rub before blisters appear, such as anti-chafe cream, anti-blister balm, or petroleum jelly, and use gel toe sleeves or moleskin on known high-friction spots for extra protection.
What Should You Pack and Do Mid-Trip if Toe Blisters Start?
Carry blister supplies like bandages or moleskin and treat hot spots right away by reducing pressure and covering the area, and if swelling happens from travel, consider well-fitting compression socks and elevate your feet after you arrive.
Fit Checks Decide Your Foot Comfort
For travelers, the real answer to how to prevent toe blisters with fit checks before you travel is simple: get the shoe fit right before you leave, then control friction and moisture until your feet adapt. Try the shoes with the exact socks you will wear, walk around until you feel no pinching or sliding, break in anything new gradually, and protect high-risk spots with a barrier and preemptive patches. Pack an extra pair of moisture-wicking socks and blister supplies, because one hot spot early can become a ruined trip fast.

I am Ozan, a London-focused running writer and marathon enthusiast with a passion for helping people discover the city’s best races, running routes, walking trails, and fitness events. I research and write practical, up-to-date guides covering marathons, race preparation, training tips, running gear, and everything related to staying active in London.
My goal is to create reliable, easy-to-follow content that helps runners and walkers of all experience levels explore London with confidence, whether they’re preparing for their first 5K or their next marathon.