Most foot fatigue comes from bad seam geometry, not from your workout. If you want a practical answer to how to reduce foot fatigue with smart sock seam placement, the core idea is simple: seams should never sit where your foot repeatedly bends, slides, and loads. When a seam crosses the wrong “red zone,” it turns normal movement into constant micro-rubbing and pressure, and that fatigue builds fast.
The smarter approach is to design seam placement around the foot’s motion lines, then keep joins off the ball-of-foot flex arc and toe-off path. If a seam must be there, it should meet the foot at a shallow angle and with a smooth, non-corner curve, because corners and abrupt direction changes create hotspots. Even small shifts up or back by a few millimeters can be the difference between a clean lay-flat feel and a sock that feels fine for 20 minutes and punishing by hour one.
Don’t accept “it’s the right size” as an answer, because seam stiffness is a different variable than fit. Fewer panel corners, fewer sharp join points, and routing that avoids stiff tack-backs right where the foot bends usually reduce fatigue more reliably than thicker cushioning alone. Choose a smart sock that treats the forefoot as a flex zone first, and your feet will spend the day absorbing impact instead of fighting the garment.
Stop Treating Seams as an Afterthought
Fatigue does not show up because you walked farther. It shows up because your foot is forced to bend against resistance, again and again. If you want how to reduce foot fatigue with smart sock seam placement, you have to treat seams as mechanical structures, not decoration.
Smart socks can sense and support, but the seams still do the heavy lifting at the forefoot where the foot flexes hardest. A seam that crosses the wrong line can turn normal toe-off motion into a repeated lever problem, increasing strain in the toes, metatarsals, and the small stabilizing muscles.
When seams sit on the flex zone, your sock becomes the stiffest object your foot wears.
Map the Red Zones Before You Touch a Needle
Start by mapping the foot’s “red zones.” The ball-of-foot arc runs from the big-toe joint toward the little-toe joint. The big-toe push line runs along the medial side at a diagonal forward angle. The lateral toe-off path is where the outer forefoot stabilizes.
Now apply the simplest rule: keep seam joins off those areas, and if a join is unavoidable, cross once at a shallow angle with a smooth, non-corner curve. Why? Because cornering turns a seam into a pivot point, and pivot points create localized pressure that builds fatigue fast.
If you have ever felt a “hot spot” under a seam after a mile, you already know what this looks like. The goal is to prevent that hot spot before it forms.
Use Curves, Not Corners, Where the Foot Bends
Corners are fatigue factories. At the forefoot, the skin and tissues glide, stretch, and recoil with each step. A seam path with multiple turns interrupts that glide, concentrates stress, and encourages blister formation in the same recurring spot.
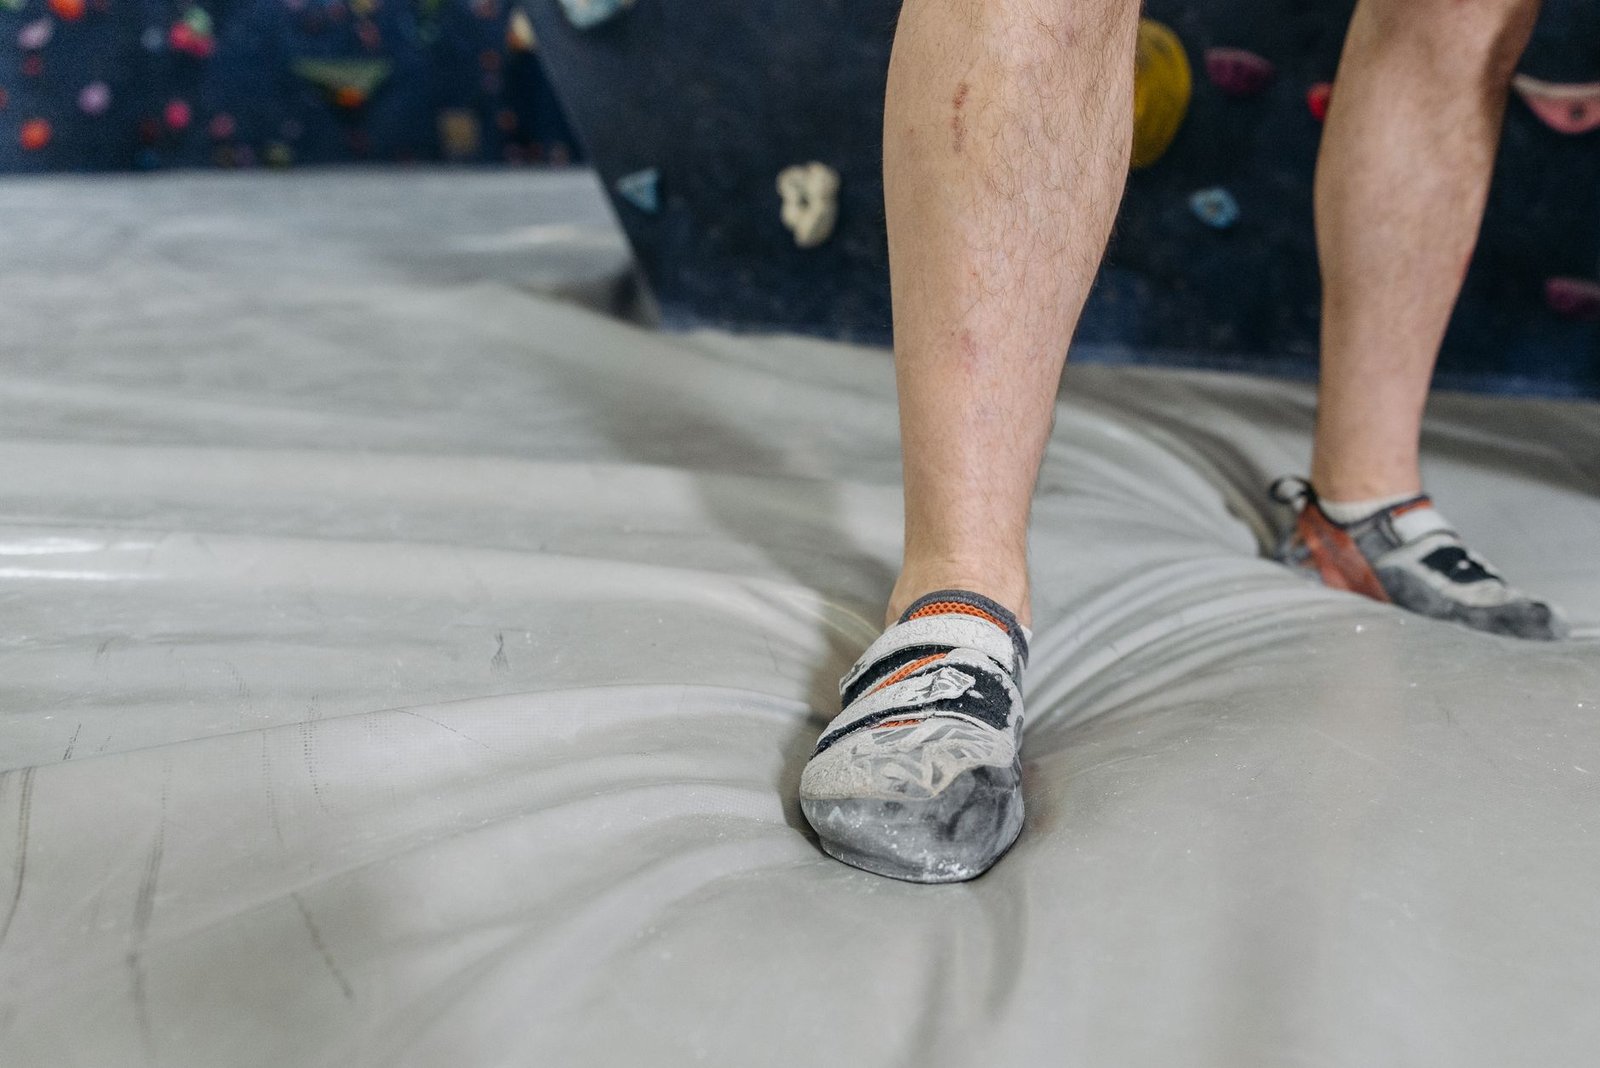
Instead, route seams with curvature radii around 6–10 mm (a practical target is at least 8 mm). Think smooth arcs that track the foot’s motion rather than angular jogs that fight it.
Sure, corners can look neat on a pattern paper. But your foot does not wear paper. It bends under load.
Offset Seams From the Main Crease by Millimeters
Even when seams must be present, placement can dramatically reduce fatigue. Shift seam lines up or back by a few millimeters so folds land on cleaner material, not directly on the most active crease.
A practical guideline is to offset the main seam about 3–5 mm from the mapped crease. That small change matters because the highest stress tends to track where the skin stretches most during toe-off, and the seam should not ride that peak.
Over time, those peaks become cumulative fatigue. Under the right offset, the seam may stay “out of the way” long enough for cushioning and structure to do their jobs.
Plan a Single Continuous Seam When Possible
Multiple seam segments create multiple stiffness events. Every join is a moment where the material stack-up changes, and every change is a new target for friction, pressure, and micro-movement.
Where manufacturing allows it, route seams in a single continuous pass. Minimize back-tacks right where the foot bends, because stiff back-tacks can behave like tiny nails under load.
You may hear that “more seams means more support.” That is a comforting story, but support that increases forefoot stiffness usually backfires into fatigue.
Stitch Density Controls Forefoot Stiffness More Than You Think
Seam placement sets the stage, but stitch mechanics can still ruin it. In clinical evidence, pressure and discomfort trends track how stiff the forefoot becomes under repeated flexion. Keep stitch patterns from over-stiffening the flex zone and use target stitch density rather than guesswork.
| Component | Target | Why It Matters |
|---|---|---|
| Forefoot Join Pattern | Lockstitch 301 | Stability without harsh hinge |
| Knit Stitch Density | 10–12 SPI | Enough hold, less stiffness |
| Woven Stitch Density | 8–10 SPI | Prevents stiffening in flex |
| Top Stitch Length | 3.0–3.5 mm | Limits rigid seam behavior |
| Back-Tack Location | Avoid flex zone | Reduces localized pressure spikes |
If you want a direct takeaway, it is this: stitch density and stitch length set the seam’s stiffness curve. Seam placement without control of stitches is like positioning a brace while using the wrong fasteners.
Opponents argue that tighter stitching equals durability. Durability matters, but in the forefoot, tightness can trade durability for fatigue. The right targets help the sock last while keeping the flex zone usable.
Make Needle Holes Smaller and Smarter
Every stitch creates a thread path, and each path is a tiny hole in the fabric. Smaller, cleaner holes reduce bulk and can limit where moisture and friction accumulate. Over time, that reduces the irritation that turns into fatigue.
Choose fine polyester with anti-wick behavior where splash and moisture are likely. Use ball or micro needles where appropriate, and consider ballpark needle sizing around NM 80–90 depending on material and construction.
It is tempting to think holes are negligible. Yet blister pain is often a story of repeated micro-damage, and seam construction writes those micro-stories into the fabric.
Bonding and Cushioning Must Share Load, Not Block Flex
Seams need structure, but forefoot structure should not create a rigid hinge. Use bonding or cushioning strategies under the forefoot seam so the load spreads rather than concentrating at the seam itself.
A narrow heat film or a sew-bond hybrid can share load without turning the seam into a hard strap. When done well, the sock protects the flex motion and reduces the effort your foot spends on structural deformation.
When done poorly, bonding can stiffen the area just enough to make each step cost more. That cost is fatigue, disguised as “support.”
Target Cushion Where Pressure Peaks, Not Where It Looks Nice
Cushioning works when it attenuates the forces that drive fatigue and blister risk. Place cushioning where impact and pressure peak: the heel and the ball of the foot. That is where friction and repeated loading create the most trouble.
Keep cushioning low-profile and controlled. Overbuilt cushioning near a seam can raise bulk and move pressure toward the seam line, undermining all your careful seam mapping.
Pair this with moisture-wicking materials. Dry reduces friction. Reduced friction reduces the irritation that makes you feel “tired” before you should.
Let Flat-Toe and Seamless Design Do the Heavy Lifting
If you can get seamless or flat-toe construction, do it. It is not a marketing preference. It is a mechanical advantage: fewer seam edges means fewer pressure spikes and less bulk migration during long wear.
When a sock is designed as a continuous knit or seamless structure, there are fewer opportunities for corner-like stiffness behavior to appear at the worst moments in toe-off.
But what if you still need a “smart” support zone? Modern smart-sock approaches can place sensor or support elements without forcing traditional seam joins into the flex zone.
Watch Sock Height and Footwear Interaction
Seam placement does not exist in isolation. Your shoe upper, lacing tension, and insole shape determine how your sock slides, compresses, and deforms. A seam that feels fine in a neutral shoe can shift under a tight forefoot or a high-friction vamp.
Use a sock height that stays stable over time. Low-profile designs can reduce rubbing if they do not migrate, but the real test is whether the seam line remains aligned with your mapped safe zones during walking.
Ask yourself: does the sock stay where it belongs, or does it crawl? Seam-related fatigue often begins as seam-related motion.
Choose Smart Socks That Support the Zone, Not the Hype
Smart socks can embed multiple sensing regions in front/middle/heel areas, guiding zone-specific support. The value is not the electronics. The value is whether the design pairs zone-specific support with seam placement that respects the flex zone.
Look for designs that aim to reduce discomfort by aligning support with pressure needs, rather than simply adding more seams or stiffness where you do not want it. If the sensor area demands rigid construction, confirm the seam path still avoids red zones.
Smart comfort should be targeted. If the sock feels uniformly stiff, it is probably costing you fatigue in the toe-off phase.
Buy Like an Engineer and Demand Seam Proof
If you want results, stop relying on vague claims like “cushioned” or “supportive.” Demand specifics: how seams cross the forefoot, whether joins are offset from the crease by 3–5 mm, and whether corners are reduced through smooth curves.
During the fitting test, run a short walk and check for recurring hotspots under the ball-of-foot arc and the big-toe push line. If discomfort appears in the same spot each minute, that seam path is doing work where it should not.
Smart seam placement is measurable in the real world: fewer hot spots, less friction, and lower perceived effort. Choose socks that treat seams as the controlled variables they are, not as hidden conveniences.
How to Reduce Foot Fatigue With Smart Sock Seam Placement
How Does Smart Sock Seam Placement Help Reduce Foot Fatigue?
Smart sock seam placement reduces foot fatigue by keeping stitch and seam bulk away from high-movement and high-pressure areas, which lowers friction, skin stress, and harsh bending points that build discomfort over long wear.
Where Should You Position Sock Seams to Avoid Pressure on the Ball of the Foot?
To protect the ball of the foot, map your “red zones” and route seam joins away from the ball-of-foot arc, the big-toe push line, and the lateral toe-off path, so seams don’t land across the areas that roll and load during walking.
What Seam Offset and Join Routing Techniques Minimize Blisters and Fatigue?
When seams must be placed, shift them slightly up/back so folds sit on clean material rather than on top of creases, offset the main seam by a few millimeters from the mapped crease, use smooth non-corner curves, and keep joins to a minimum so stiff points don’t repeatedly catch where the foot bends.
How Do Stitch Density and Flex-Zone Construction Affect Foot Fatigue?
Comfort improves when stitching doesn’t over-stiffen the flex zone, with appropriate stitch density for the fabric, minimal bulky back-tacks right on bending points, and small needle holes using fine thread and needles suited to knit or woven construction.
Where Should Cushioning and Moisture-Wicking Materials Be Placed for Less Foot Fatigue?
Place cushioning where impact and pressure peak—typically the heel and ball of the foot—to reduce force spikes that drive fatigue, and pair it with moisture-wicking materials and low-profile sock height to limit friction that contributes to hot spots and soreness.
Can Smart Socks With Sensors and Flat-Toe Design Further Reduce Discomfort?
Yes—zone-focused sensors can support pressure management across front/middle/heel regions, and flat-toe or seamless construction helps prevent irritation from seam bulk or shifting, which can otherwise worsen fatigue during extended walking or standing.
Smart Seam Placement Is The Fix
There is no mystery to comfort: how to reduce foot fatigue with smart sock seam placement comes down to respecting the foot’s flex and pressure map, keeping seam joins out of the ball of foot and toe-off paths, using smooth, shallow transitions when a seam must cross, and reinforcing the forefoot without creating a stiff hinge. When you route seams once, with gentle curvature and fewer corners, and pair them with smart cushioning and moisture control where fatigue starts, the sock stops fighting your stride and your feet feel the difference fast.

I am Ozan, a London-focused running writer and marathon enthusiast with a passion for helping people discover the city’s best races, running routes, walking trails, and fitness events. I research and write practical, up-to-date guides covering marathons, race preparation, training tips, running gear, and everything related to staying active in London.
My goal is to create reliable, easy-to-follow content that helps runners and walkers of all experience levels explore London with confidence, whether they’re preparing for their first 5K or their next marathon.